How to install System Center Virtual Machine Manager 2019
System Center Virtual Machine, in the article I will guide you on how to install Microsoft’s System Center Virtual Machine Manager 2019 (SCVMM).
If you run Microsoft’s Hyper-V as your virtualization platform then you probably want a way to manage your Hyper-V hosts as well as the virtual machines that reside on this.
What’s new in SCVMM click here
What’s new in Hyper-v Manager click here
SCVMM System Requirement
In this four part series
1- SCVMM Installation click here
2- Configure SQL Server SCVMM 2019 click here
3- Configure Virtual Machine Manager click here
4- Virtual Machine Libraries Configuration click here
Install System Center Virtual Machine Manager
I am using a trial version of SCVMM which we can download if from the Microsoft Website
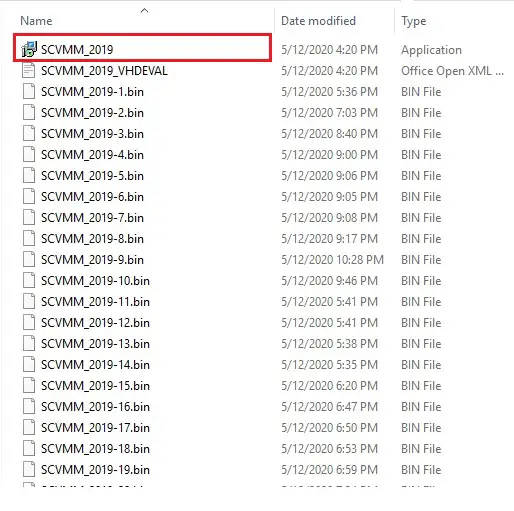
1- Browse the windows explorer to install SCVMM. Double click on SCVMM_2019.exe to start the installation.
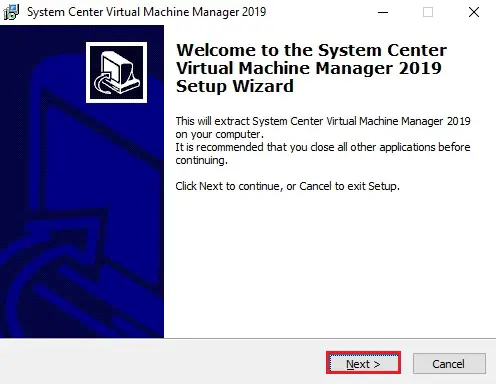
2- The SCVMM install welcome screen, click next.
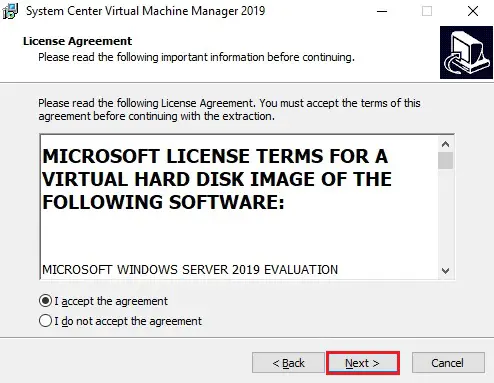
3- Accept the SCVMM license agreement and then click on next.
4- The SCVMM installer needs to extract the downloaded files. Please select a destination folder location and make sure you have enough free disks space (approximately 28GB) then click on next.

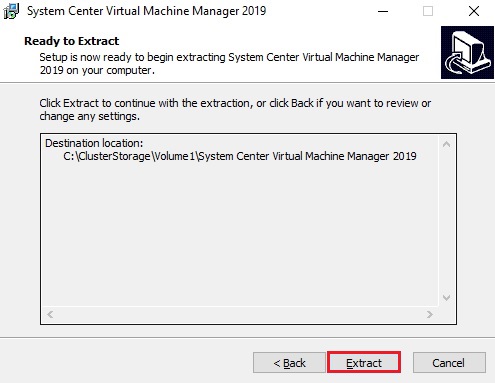
5- Confirm the settings and folder where you want to extract then click on Extract.
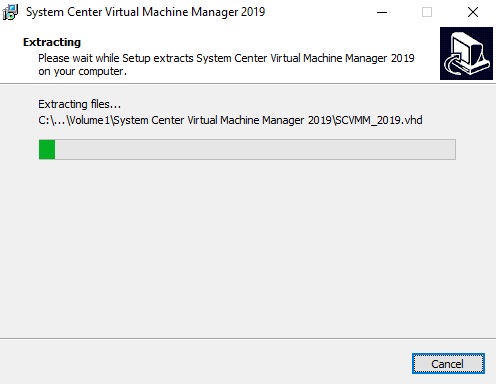
6- The installation files start extracting. This will take a few minutes to complete the extraction process.
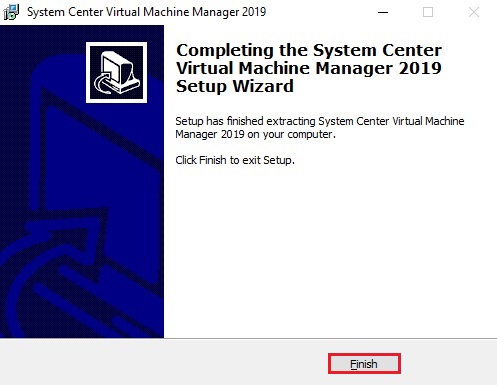
7- Now the extraction of SCVMM is complete. Click on finish button.
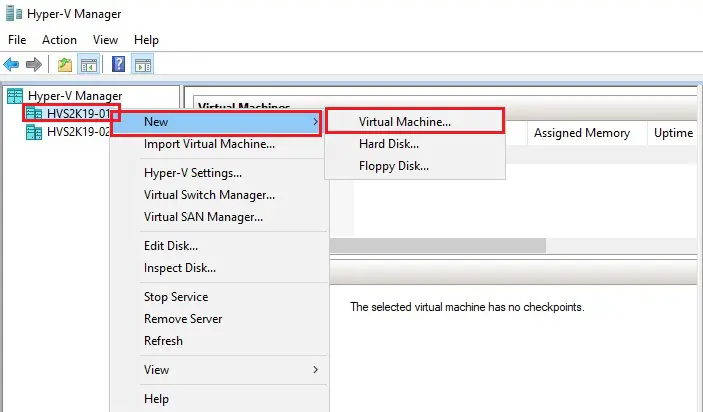
Open your Hyper-V manager console and connect to your SCVMM host.
Now we need to build a new VM for the System Center Virtual Machine Manager server.
8- Right click on host then click new and then Virtual Machine.
9- New Virtual Machine Wizard, click the next button to proceed.

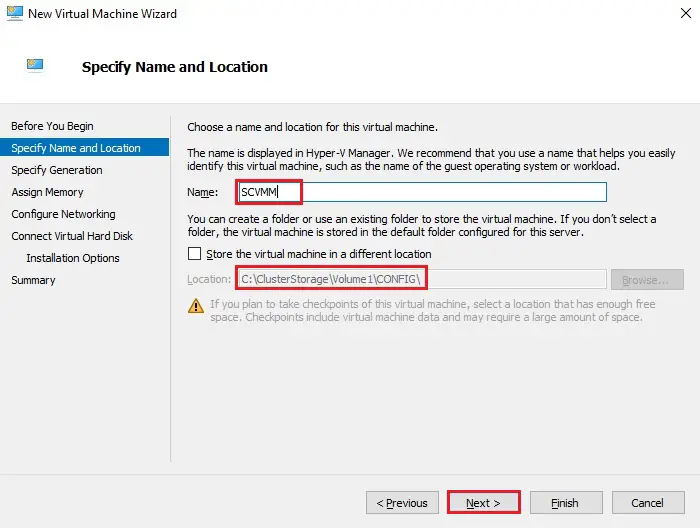
10- Type your VM name (SCVMM) and select where to store the VM files. Click Next.
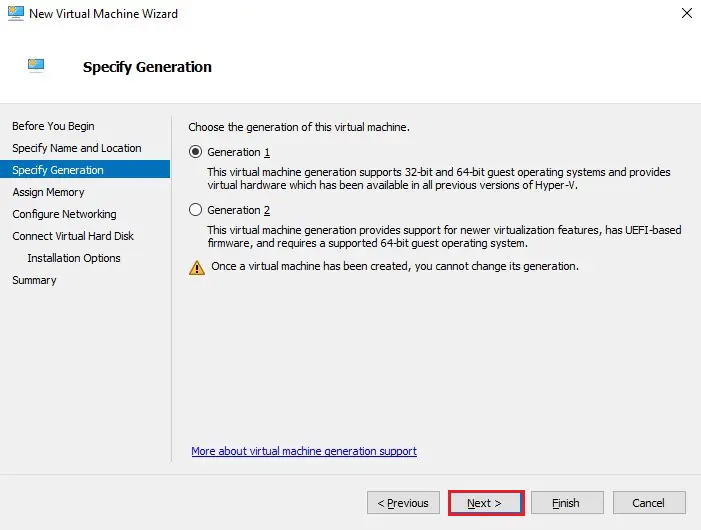
11- Choose Generation 1 and then click next.
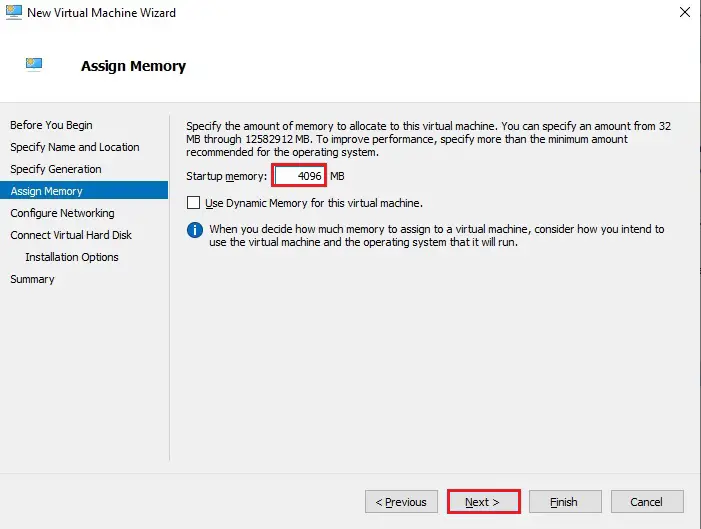
12- The minimum memory recommended 4GB so as this is just a test lab, click on next.
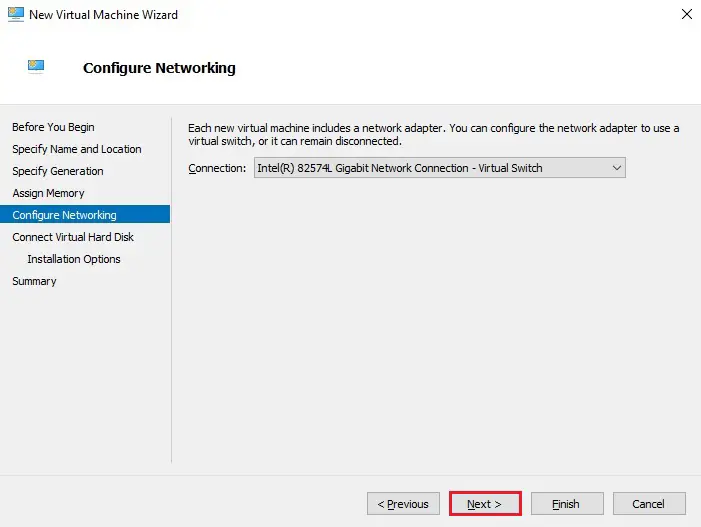
13- Select a virtual switch you want to deploy this VM to then click next.
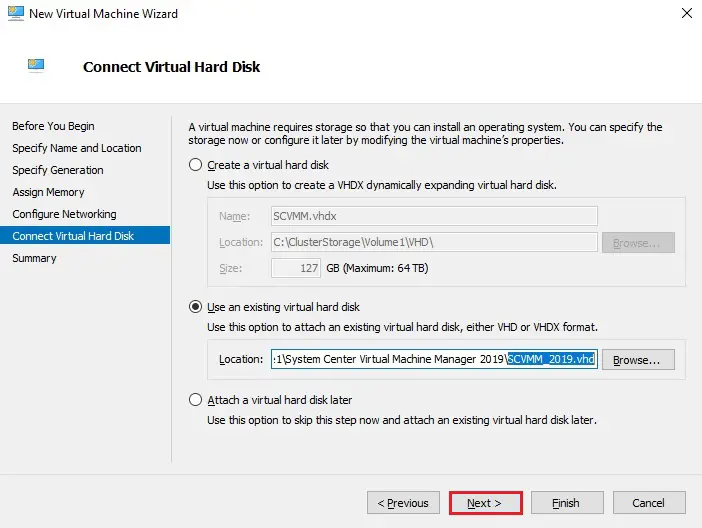
14- This is one of the most important parts of the System Center Virtual Machine install process, make sure to change the virtual hard disk to Use an existing virtual hard disk and browse to the extracted location of the SCVMM download. Select SCVMM_2019 VM and then click next.
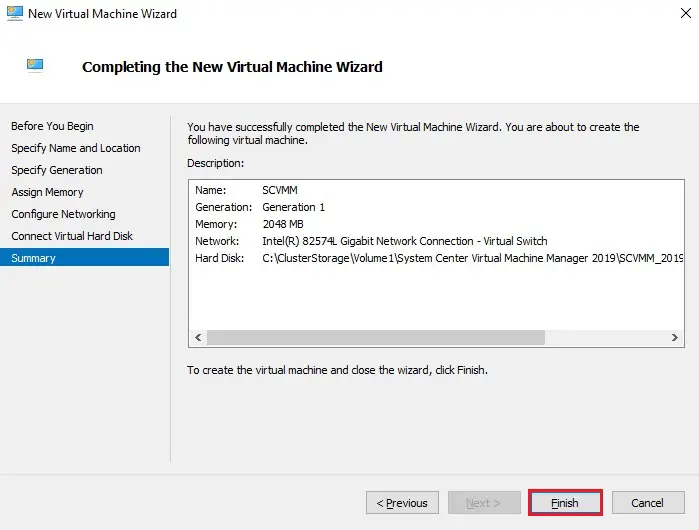
15- Review the Summary of System Center virtual machine and then click on Finish.
Configure System Center Virtual Machine Manager
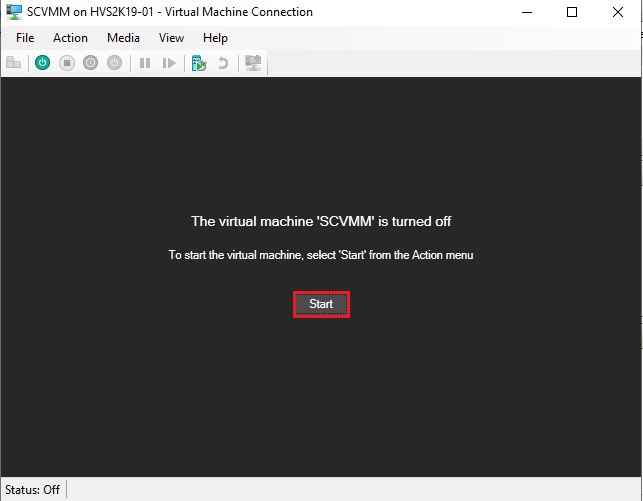
16- Hyper-V manager console and browse through your virtual machines the one we newly deployed System center virtual machine. Right-click on SCVMM and then click connect.

17- Virtual Machine window opens click the start button.
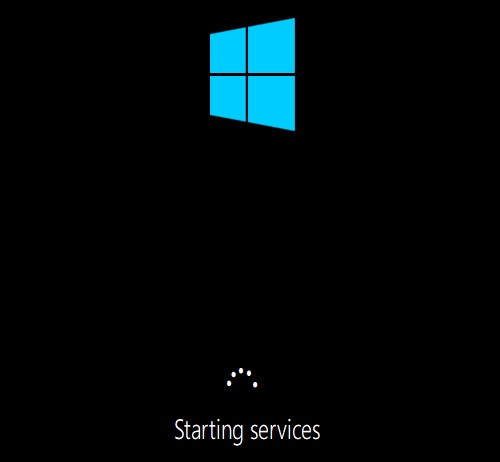
18- System center virtual machine starting Services.
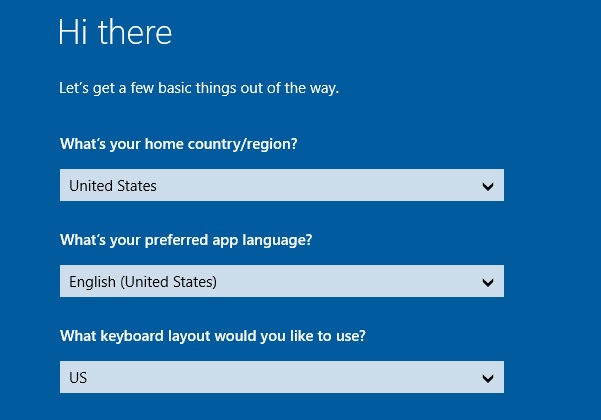
19- Now we have run through the Windows 2019 server installation. Select your country/region and then click next.
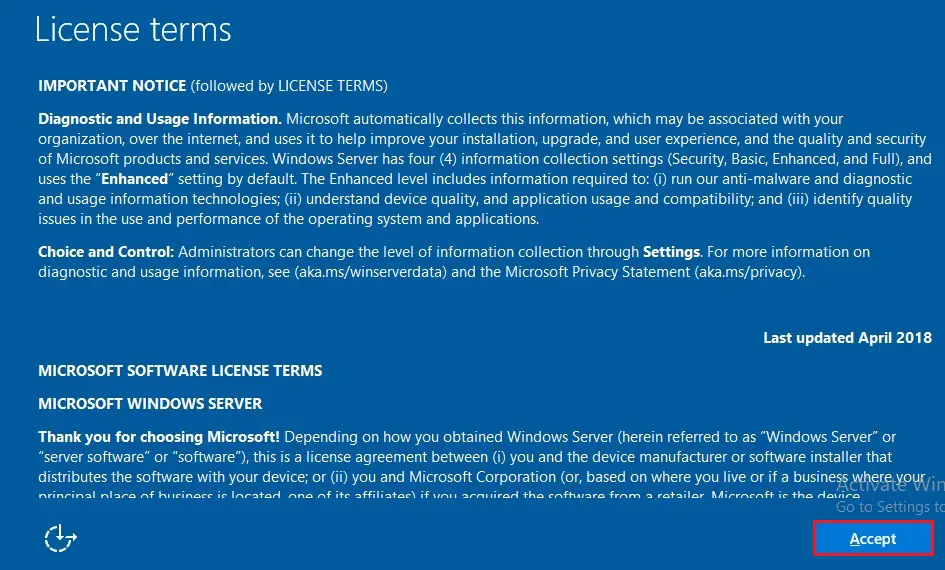
20- Click Accept.
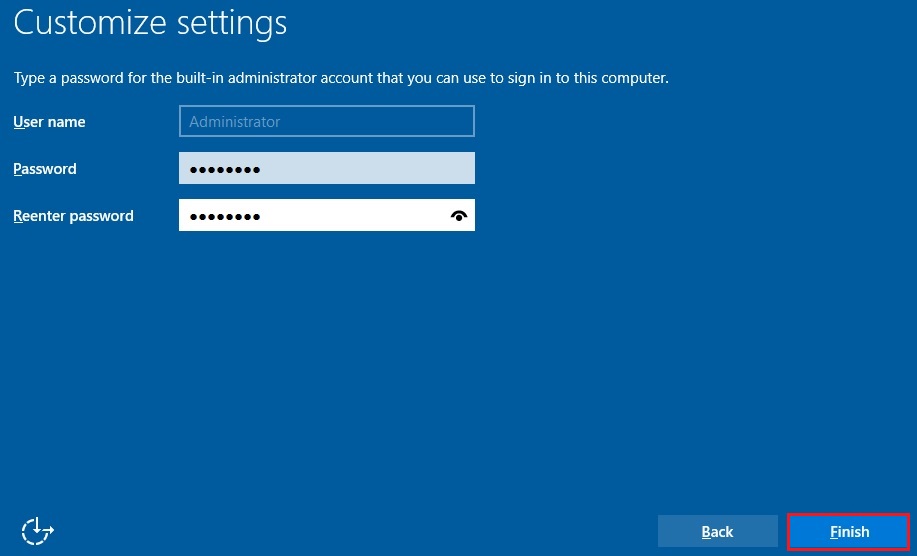
21- Type a local administrator password and then click the finish button.
22- Windows 2019 server successfully installed, log in to the server with the local administrator credentials.

Now we need to join the System center virtual machine to a domain. Click Here
In the next article, we need to start the installation of the SQL Database. On the desktop of Server 2019 VM, we can see Microsoft has placed two icons for me to use to start the SCVMM installation.
[recent_post_carousel design=”design-1″]